
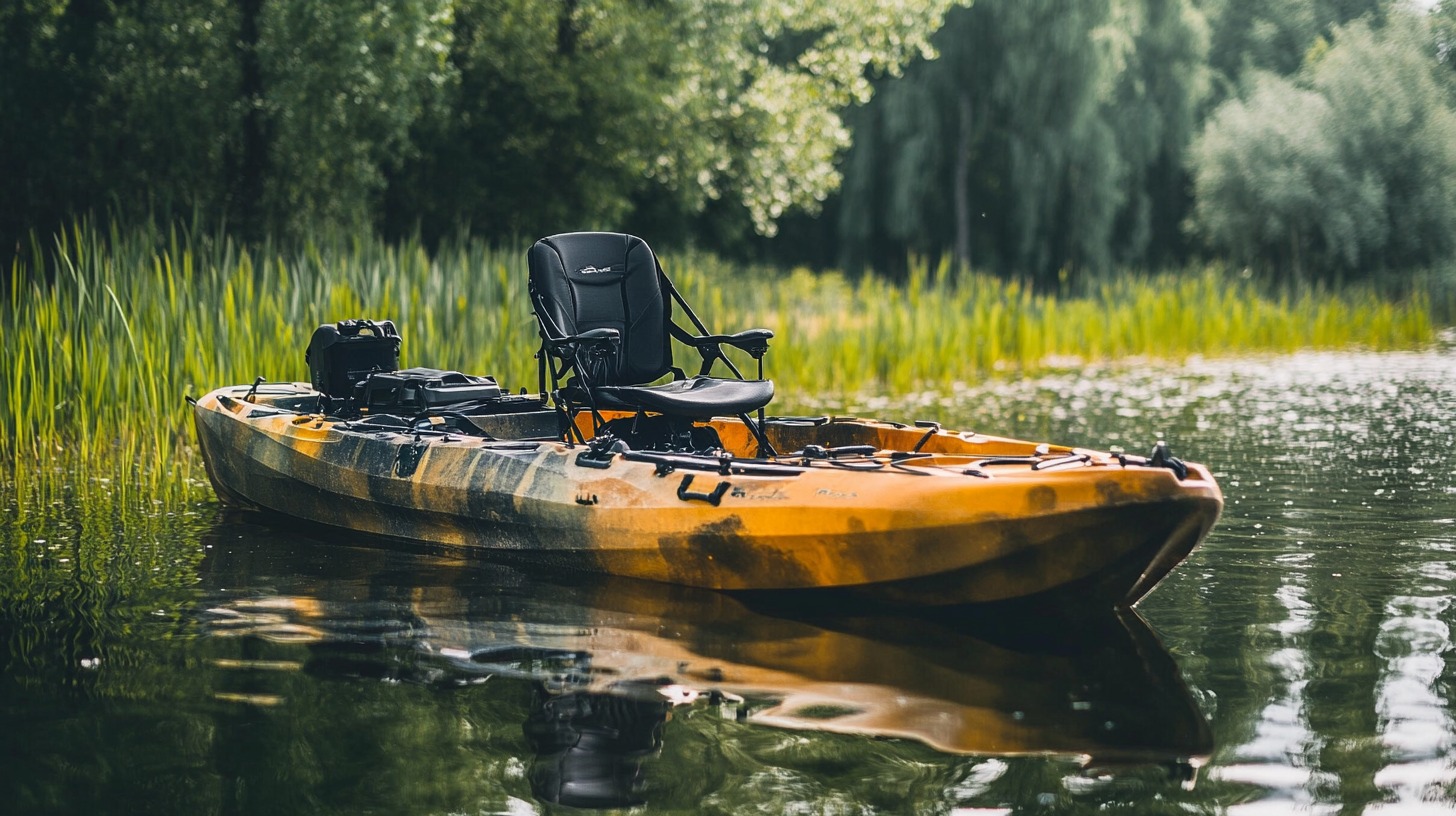
Mounting a trolling motor on a kayak is becoming increasingly popular among anglers and adventurers.
It offers an efficient way to navigate waters with ease, allowing for more time to focus on fishing or exploring. But how can you do it?
Let us talk about options you can undertake to do it smoothly.
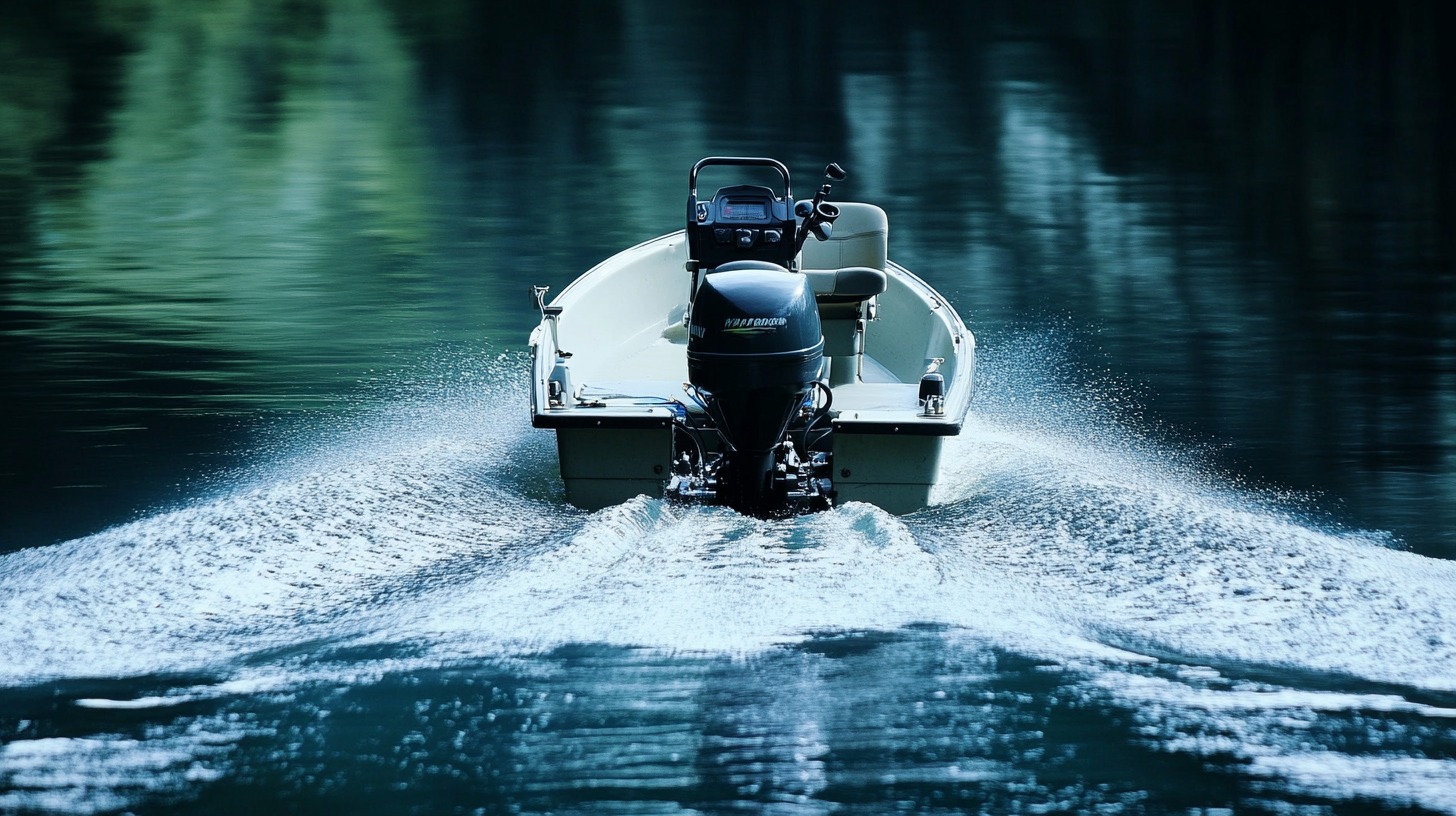
Option #1: Stern-Mounted Trolling Motor
A stern-mounted trolling motor is the most common and straightforward option for kayak enthusiasts.
Mounted at the rear of the kayak, this motor uses a four-bolt stern mount, making it one of the easiest to install.
The stern-mounted setup is highly favored for its stability and durability, which are crucial when navigating various water conditions.
One of the key advantages of a stern-mounted trolling motor is that it has minimal impact on the kayak’s balance.
By placing the motor at the back, the weight is evenly distributed, maintaining the kayak’s natural center of gravity.
Positioning it this way is particularly beneficial for fishing kayaks with flat areas at the stern, as it ensures a steady and balanced ride, even in choppy waters.
The installation process for a stern-mounted trolling motor is somewhat simple. It involves securing the motor to the stern with the provided bolts and ensuring that the motor is aligned correctly with the kayak’s centerline.
This option is best suited for fishing kayaks that have a flat, stable area at the stern, allowing for a secure mount. It’s an excellent choice for those who prioritize ease of installation and long-term stability on the water.
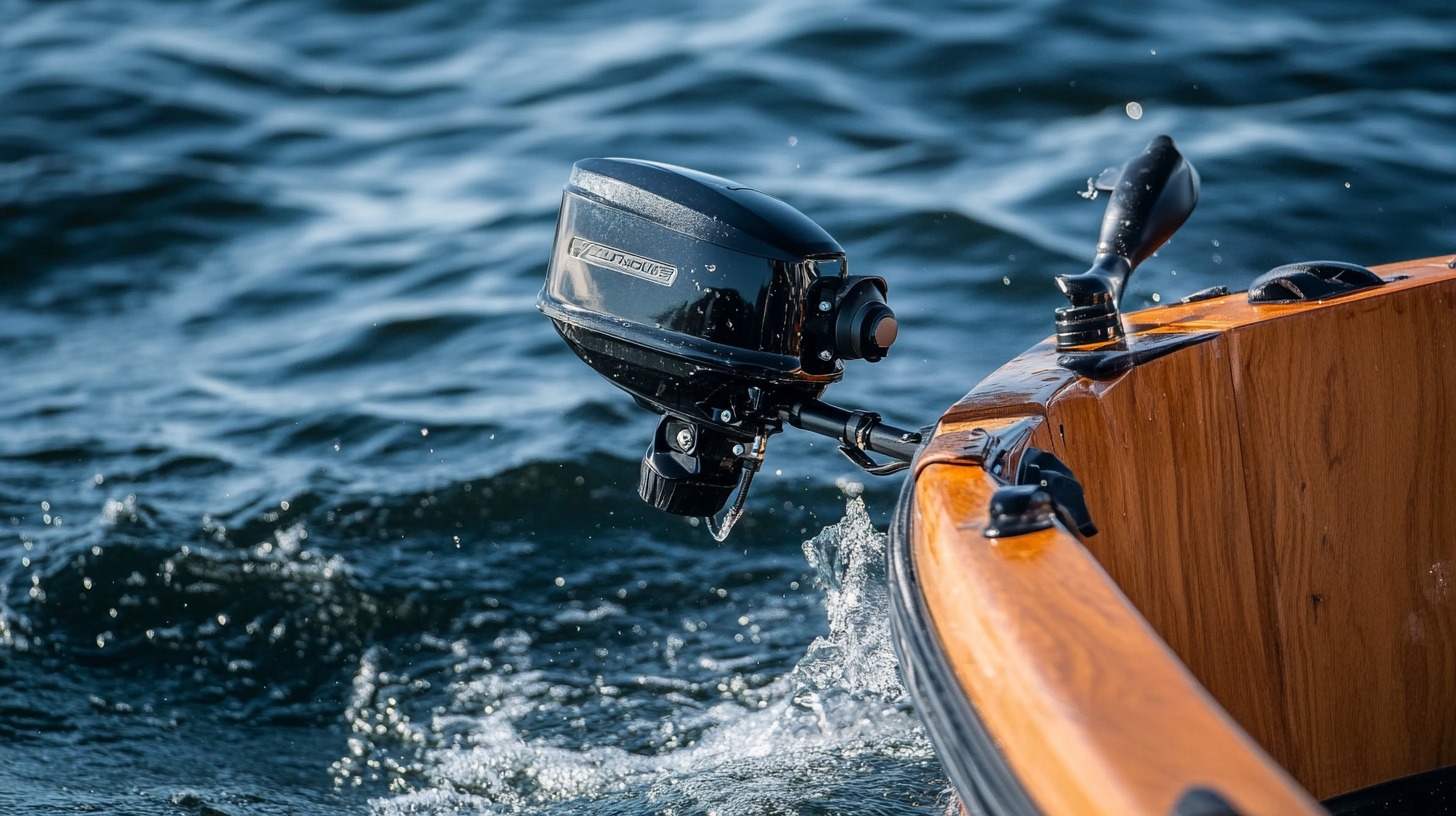
Option #2: Bow-Mounted Trolling Motor
A bow-mounted trolling motor is an excellent choice for those who need precise control and maneuverability, particularly when fishing.
The setup places the motor at the front of the kayak, which allows for 360-degree movement and better targeting when positioning yourself in the water.
It is especially advantageous for anglers who need to adjust their position frequently to follow fish movements or navigate tight spaces.
The main benefit of a bow-mounted trolling motor is its ability to enhance your control over the kayak.
By pulling the kayak through the water, rather than pushing it, the motor provides a smoother and more responsive ride.
It can be particularly useful in situations where quick adjustments are necessary, such as when casting or moving around obstacles.
Installing a bow-mounted trolling motor requires a bit more effort compared to a stern mount. Typically, a mounting plate is needed, which may involve drilling into the kayak’s bow.
Wiring the motor correctly and integrating it with any existing GPS system can be complex. It’s important to ensure that the installation is done carefully to avoid any potential issues with balance or functionality.
This option is suitable for kayaks with compatible bow mounts or those with enough space for a DIY mount. If precision and control are your top priorities, a bow-mounted trolling motor is an excellent choice for your kayak.
Option #3: Side-Mounted Trolling Motor
The side-mounted trolling motor offers a unique setup that mounts on the side of the kayak, typically using existing rod holders.
For those looking for a quick and straightforward way to motorize their kayak, a side-mounted trolling motor can be an attractive option.
One of the significant advantages of this setup is the easy access it provides for controlling and adjusting the motor. With the motor mounted on the side, it’s within arm’s reach, allowing for quick changes in speed or direction.
Still, there are some drawbacks to consider. A side-mounted trolling motor can potentially cause instability and imbalance, especially if not installed correctly.
The weight distribution can be uneven, leading to a tilting effect, which might make the kayak harder to control.
It is generally less secure than stern or bow mounts, as it relies on the strength of the rod holders, which may not be designed to support the weight and force of a trolling motor.
Despite these potential issues, the installation process for a side-mounted trolling motor is relatively straightforward.
However, it’s essential to consider balance and test the setup in calm waters before heading out on more challenging adventures.
Option #4: DIY Trolling Motor Mount
For the budget-conscious or creative kayaker, a DIY trolling motor mount offers a fully customizable solution.
This option is ideal for those who enjoy building and modifying their gear, allowing you to design a mount that fits your specific kayak.
While it requires more effort, tools, and expertise, the result can be a cost-effective and personalized setup.
The primary advantage of a DIY trolling motor mount is its flexibility. You can tailor the mount to fit any kayak, regardless of its shape or size.
The customization allows you to optimize the motor’s position for balance and efficiency, ensuring that your kayak remains stable and easy to maneuver.
Building your own mount can be significantly cheaper than purchasing a pre-made kit, making it an appealing option for those on a tight budget.
However, there are some drawbacks to consider. Constructing a DIY mount requires a good understanding of the materials and tools needed, as well as the kayak’s design.
If not done correctly, there is a risk of damaging the kayak or creating an unstable setup that could compromise your safety on the water.
Therefore, it’s crucial to plan the project carefully and follow best practices to ensure a successful installation.
The installation process for a DIY trolling motor mount involves several steps, starting with designing the mount and selecting the appropriate materials.
Once the components are assembled, the mount needs to be securely attached to the kayak, taking care to distribute the weight evenly. For those who enjoy DIY projects, this option provides a rewarding way to customize their kayak while saving money.
Option #5: Railblaza Kayak Transom Mount Kit
The Railblaza Kayak Transom Mount Kit is a high-quality, versatile option for those looking for a durable and reliable mounting solution.
This kit is known for its robust materials and ease of installation, making it a popular choice among kayak enthusiasts who want a professional-grade setup.
One of the main advantages of the Railblaza kit is its durability. Made from strong, corrosion-resistant materials, it is designed to withstand harsh marine environments, ensuring a long lifespan.
The kit is compatible with various accessories, allowing you to expand your setup with additional gear, such as camera mounts or fishing rod holders.
The installation process for the Railblaza kit is straightforward, but it does require drilling into the kayak. This might be a concern for some users, as it involves making permanent modifications to the kayak.
However, the kit comes with detailed instructions, making it easier to achieve a secure and stable mount.
Once installed, the Railblaza kit provides a solid base for your trolling motor, ensuring that it remains firmly in place during use.
While the Railblaza kit is more expensive than other mounting options, its quality and versatility make it a worthwhile investment for those who frequently use their kayak in demanding conditions.
It’s an excellent choice for anyone who values durability and wants a mount that can handle the rigors of regular use.
The Bottom Line
When selecting a trolling motor mount for your kayak, consider factors such as your kayak type, budget, and intended use.
Each option offers unique advantages and drawbacks, so it’s essential to choose one that best fits your needs.
To ensure the longevity and performance of your trolling motor and mount, regular maintenance is key.
Keep the motor clean and dry when not in use, and inspect the mount periodically for signs of wear.
Remember: Always bring an emergency kit with you on all nature adventures, better be safe than sorry!